Social Media

Wednesday 24 December 2014

Winter Forest

A quick update today as I'm going to watch Skyfall with my family in a bit! I've been so busy this holiday period, going on trips to London and spending time with my family. Since going to uni Christmas has turned into my favourite holiday as it's the only time that me and my two older sisters get to spend together. 

Yesterday I was browsing though Instagram trying to get inspiration for a Christmas design and I came across a great snowy forest scene that 'nailsbyjema' had done. I tried to do my best to recreate it but it didn't really turn out how I wanted it to!


The above picture is shown with a glossy top coat, the picture below is with a glitter topcoat to show snow falling, and the one below that is with the glitter and a matte topcoat. 


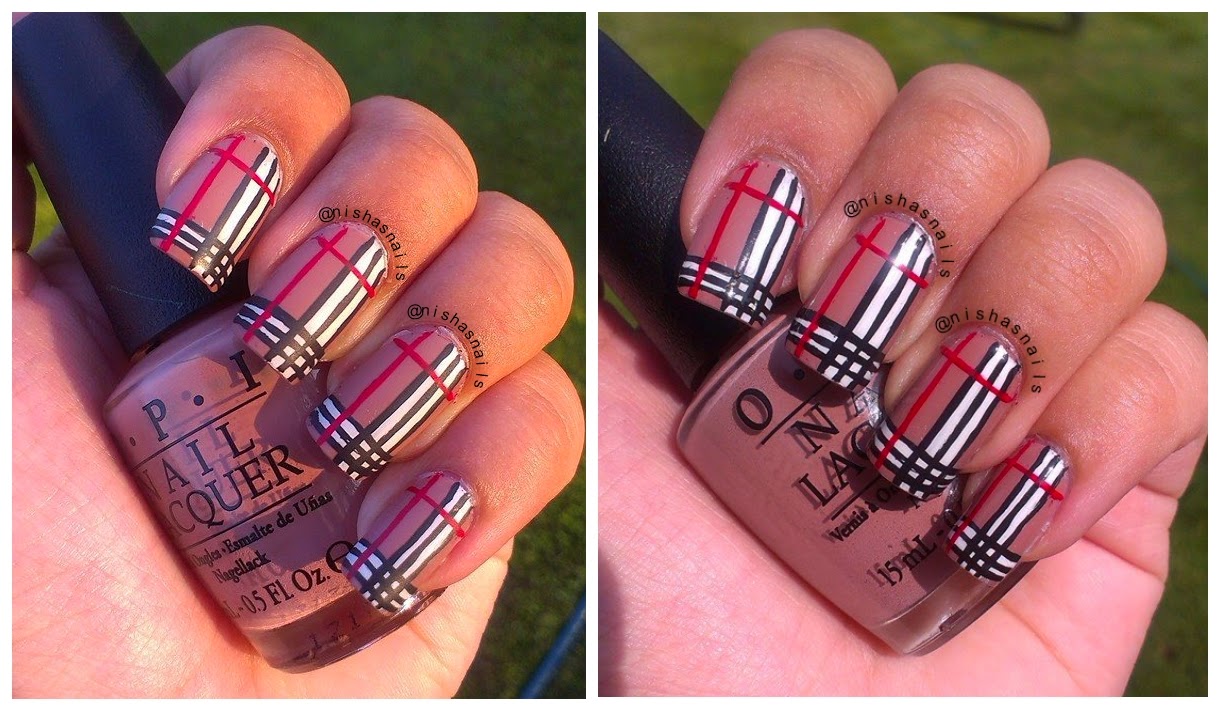
As usual I used OPI - Nail Envy as my base, then followed it up with two coats of OPI - Alpine Snow. The detailing was done with acrylic paint and a small detail nail art brush. 

I'm not too happy with these nails so I will probably paint them again tomorrow evening, I'll hopefully get some new nail polishes for Christmas that I can try out!


Don't forget to follow me on Facebook, Instagram and Bloglovin', links are above!

Thursday 27 November 2014

Christmas Jumper Nails

With Christmas coming round the corner I thought it would be a perfect time to start on the Christmas nails! These are inspired by a t-shirt and some slippers that I saw at Primark the other when I went shopping. Fair Isle snowflakes are some of my favourite to draw and paint so I knew that I would have some of them in this design.
 

I had so much fun doing these nails, Christmas jumper nails are some of my favourite nails to do as they really get me into the festive mood! As usual, I started this mani off with a base coat of OPI's Nail Envy. I then painted my index, middle and pinky finger with two thin coats of China Glaze - With Love, and my ring finger with two thin coats of OPI - Alpine Snow.


With Love is my all time favourite red nail polish, it's the perfect consistency and is fully opaque in two thin coats which is perfect! If you're searching for red then I highly suggest you try this one out! 

Here's an image of the top and slippers that inspired this look. Unfortunately I was not able to take pictures of my nails against the items as I am currently visiting a friend.


Hope you're all having a great day and don't forget to check out my Facebook, Twitter and Bloglovin', links are above! 

Friday 21 November 2014

Bob's Burgers Nail Art

My absence from updating this blog can be explained by two things, deadlines at uni and Netflix. I've currently been watching Bob's Burgers with my housemate, and I love it so much, it's such a funny show and I recommend it to everyone.


I decided to paint my favourite characters from the show onto my nails, and let me tell you, this was very hard. I think next time I have a bit of an absence from nail art I'll ease myself into it more gently!


As usual I started out with a base of OPI - Nail Envy. I followed this up by two thin coats of OPI - Alpine Snow and then one coat of Barry M - Yellow. I put the white down first to make the yellow more vibrant and stand out more, as it is not the most pigmented polish out there. I then painted the art on with acrylic paint and finally topped it all off with Seche Vite.


I struggled quote a lot with this design, probably because there are many thin lines in the characters faces, such as their eyebrows, mouths and chins. The brushes I used were a little bit too thick to create such thin lines.


Thursday 2 October 2014

Harry Potter Nails

The Harry Potter franchise is something that will always be close to my heart and it's also something that I've tried to paint into my nails many times before, always failing. This time I was determined to make it look good and drew out the design on paper beforehand. I'm really pleased with how these turned out and I hope you guys like them too!


The concept is that it's Harry, Ron and Hermione getting sorted into Gryffindor. The Sorting Hat was so hard to paint, making sure that it was in a slightly different position each time, still making sure the shading made it distinguishable as the Sorting Hat.


I started off with a base of OPI - Nail Envy. Then on my index, middle and pinky fingers I painted on two coats of OPI - Alpine Snow, and on my ring finger I did two coats of China Glaze - With Love. 


As usual, don't forget to follow me on Facebook, Instagram and Bloglovin' for more nail art, links are above!

Thursday 25 September 2014

Game of Thrones nail art

I was re-watching my favourite Game of Thrones episodes the other day and I also needed to paint my nails so I thought let paint GOT onto my nails! The design of this changed a lot, I firstly had a really complicated mural of each house on my nails but when it came to actually painting it onto my nails I struggled as my brushes weren't thin enough. In the end I decided on something fairly simple but still very cool looking.


As my base I used Leighton Denny - Private Jet. I feel like this was the perfect colour to use as it's black, but the tiny bits of shimmer just add something to the design overall. 


As usual I started out with a base of OPI - Nail Envy, followed by two thin coats of Leighton Denny - Private Jet, topped with one coat of Seche Vite.


I'm pleased with how it turned out, although the direwolf isn't exactly how I imagined it in my head.


Don't forget to follow me on Instagram, Facebook and Bloglovin'. Links are above

Thursday 18 September 2014

Where's Wally Nail Art

So the other night I headed out for a Where's Wally vs Smurf's party. I decided to go as Wally so naturally I painted him onto my nails.


As usual I started out with one coat of OPI - Nail Envy, followed by three thin coats of OPI - Alpine Snow. I didn't have any striping tape so I had to use my striping brush to create the red stripes, I'm pretty pleased with how straight they are but I have to remember to invest in some tape for future manis!


To paint Waldo onto my nails I used acrylic paint and my Cheeky Nail Art Brushes.


Don't forget to follow me on Facebook, Instagram and Bloglovin, links are above.

Tuesday 9 September 2014

Chalkboard Nails

In theme of Back to School I thought the perfect design to do would be chalkboard nails! These are super easy and simple to do and look very cool.


As usual I started out with a basecoat of OPI - Nail Envy, followed by two thin coats of China Glaze - Liquid Leather, acrylic paint for the design and then one coat of Essie - Matte About You.


The design is obviously inspired by what little kids doodle on paper and chalkboards when they're young. I know when I was younger I used to draw stars, stickmen and swirls over everything!


Don't forget to follow me on Facebook, Instagram and Bloglovin, all the links are above :)

Friday 5 September 2014

Burberry Inspired Nails

So the other day I was looking through the nail tags on Instagram for some inspiration and I saw these awesome Burberry inspired nails. I looked up some more Burberry patterns online and then came up with these awesome nails!


                                     Matte                                                                         Shiny

As you can see from the above picture I decided to use a matte top coat as I feel it make the whole design look a sleeker. 

As usual I used OPI - Nail Envy as my basecoat, then painted on two thin coats of OPI - Barefoot in Barcelona, and finally topped it off, first with Seche Vite and then with Matte About You by Essie. The design was painted on using acrylic paint and a nail striping brush.


 Dont forget to follow me on Instagram, Facebook and Bloglovin'!


Sunday 31 August 2014

Nail Swatch - China Glaze - Frostbite

China Glazes' Frostbite is by no means a recent addition to my growling collection but one of my favourite out of all of them. I recently went to an Indian wedding and this colour perfectly matched what I was wearing so I decided to do a quick swatch and review of it!


This polish is a beautiful bright blue that is just absolutely gorgeous! It applies very smoothly, however the first coat is very patchy and honestly would look dreadful without another coat. The above picture is shown with two thin coats of the polish topped with Seche Vite.


As China Glaze polishes go this one isn't the best formula wise, their most recent collections have been much better, but I feel like the colour of this overrides all of that.
As said above I recently wore this to a wedding and you will see from the pictures how beautiful the polish looked.


The rings in the above picture are from Primark and the bangles are from an indian store in Southall.